
One of the more tedious tasks in Revit is keeping track of Wall Joins – that is, if you have allowed walls to join with other walls or not. This can be important when you are using walls in groups or when allowing the walls to join with each other creates issues.
The main concern is if you have actually allowed the wall to join or not – to check this you will have to manually click every single wall separetely and look for a small T-shaped icon at the end of the wall. A small blue icon which tends to disappear together with the rest of Revit’s blue highlights as well. And if you have placed the wall in a group you will even need to edit the group as well before you’re able to click the wall…
In later versions of Revit there are functions to disallow wall joins at multiple locations and also to disallow joins as default when you draw the walls but there is no way of verifying the status of multiple walls as the same time.
This is where Dynamo, the Revit API and a little bit of Python may provide the solution!
There’s no standard Dynamo functionality to read the wall join status of a wall – there might be some obscure package manager who have made such a node but I never really took the time to search for it.
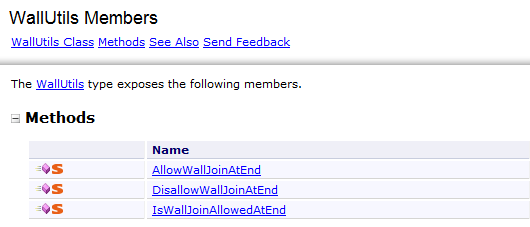
Reading the Revit API help document I found a function called IsWallJoinAllowedAtEnd listed under something called WallUtils:
The description of this function is pretty messy if you’re not an experienced programmer I suppose:
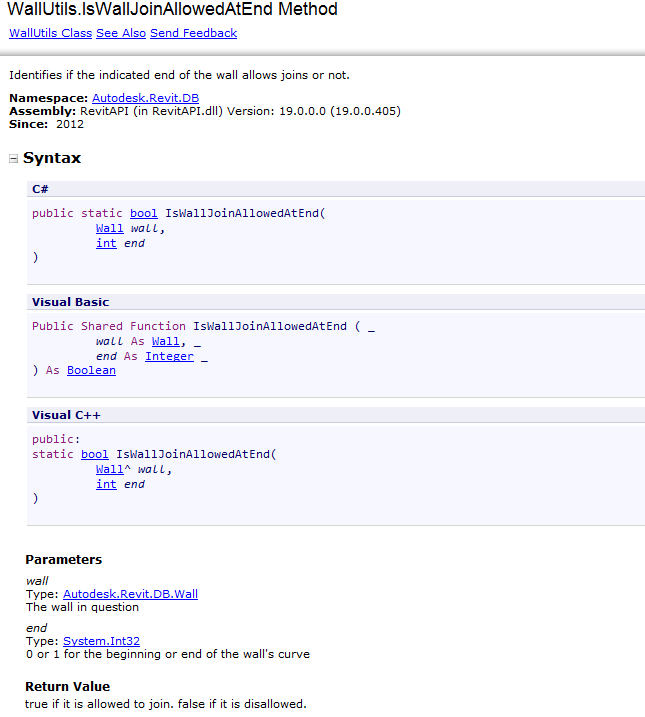
But basically, if you call this function and provide the two parameters listed below, it should return with a True if the end is allowed to join and a False if it’s dissallowed.
The coding examples show C#, Visual Basic and Visual C++ – and Dynamo use Python – but fortunately it’s really, really simple to convert those examples into Python. Simply put, you just take away all the wierd programmer stuff, hope for the best and it might work!
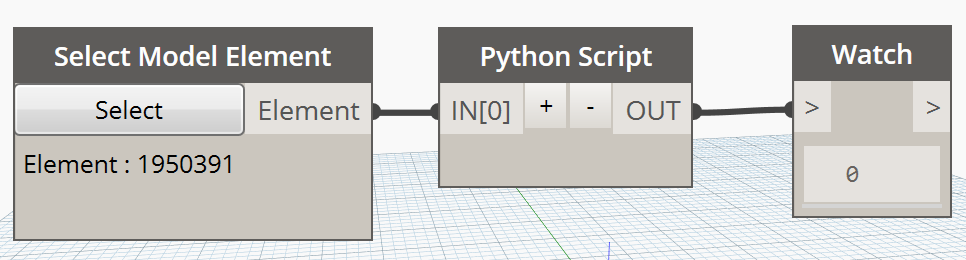
To test in Dynamo you will need just three nodes – Select Model Element to be able to get a wall into Dynamo and then a Python Script with the neccessary python code and finally perhaps a Watch node just to check what happens.
The get the Python Script working we will just need a few basic functionalities – we will need to be able to talk to the Revit API (call the Wallutils functions), query the wall coming in through IN[0] and then push out the result.
Those things can all be done quick and dirty simply by adding the following lines to the code within the Python Script:
clr.AddReference("RevitAPI")
import Autodesk
from Autodesk.Revit.DB import *
wall = UnwrapElement(dataEnteringNode[0])
 OUT = WallUtils.IsWallJoinAllowedAtEnd(wall, 0)
The UnwrapElement part is a bit special, it basically unpacks the strange Revit element that we provided Dynamo and turns it into a proper Revit API object (in this case, a Wall) and lets you use the functions you’ve found in the API documentation, otherwise Dynamo will only be able to access parts of the element information. It will turn the element into a Wall which Wallutils will accept as part of it’s parameters.
The code is pretty basic though and with only get the first wall sent into the Python Script and only one end (“0”) of the wall as well.
But this can easily be expanded into this:
 # Enable Python support and load DesignScript library
 import clr
 clr.AddReference('ProtoGeometry')
 from Autodesk.DesignScript.Geometry import *
 clr.AddReference("RevitAPI")
 import Autodesk
 from Autodesk.Revit.DB import *
 # The inputs to this node will be stored as a list in the IN variables.
 dataEnteringNode = IN[0]
 startallow = [] # a list of allow/disallow at one end
 endallow = [] # a list of allow/disallow at the other end
 # Place your code below this line
 for wall in dataEnteringNode: # do something for every wall coming in
     wallelement = UnwrapElement(wall) # unpackage the thingy coming in
     startallow.append(WallUtils.IsWallJoinAllowedAtEnd(wallelement, 0))
     endallow.append(WallUtils.IsWallJoinAllowedAtEnd(wallelement, 1))
     # check the status on start and end, add those to the lists (careful, these three lines must begin with a TAB)

 # Assign your output to the OUT variable.
 OUT = startallow, endallow #send out the lists
This version of the code will actually handle any amount of walls coming in, figure out if they are Allowed or Disallowed to join at both ends and running this with Select Model Elements on a bunch of (only) walls you actually get some results coming out about those walls’ allow/disallow status:
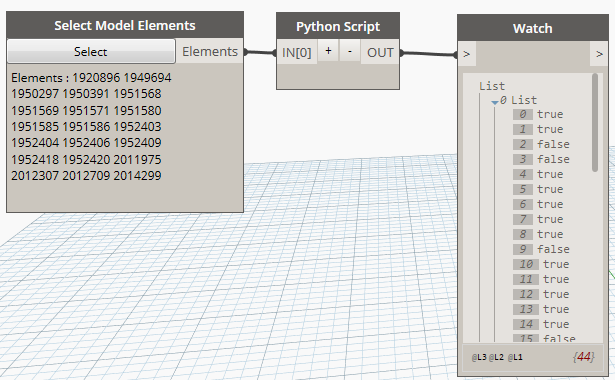
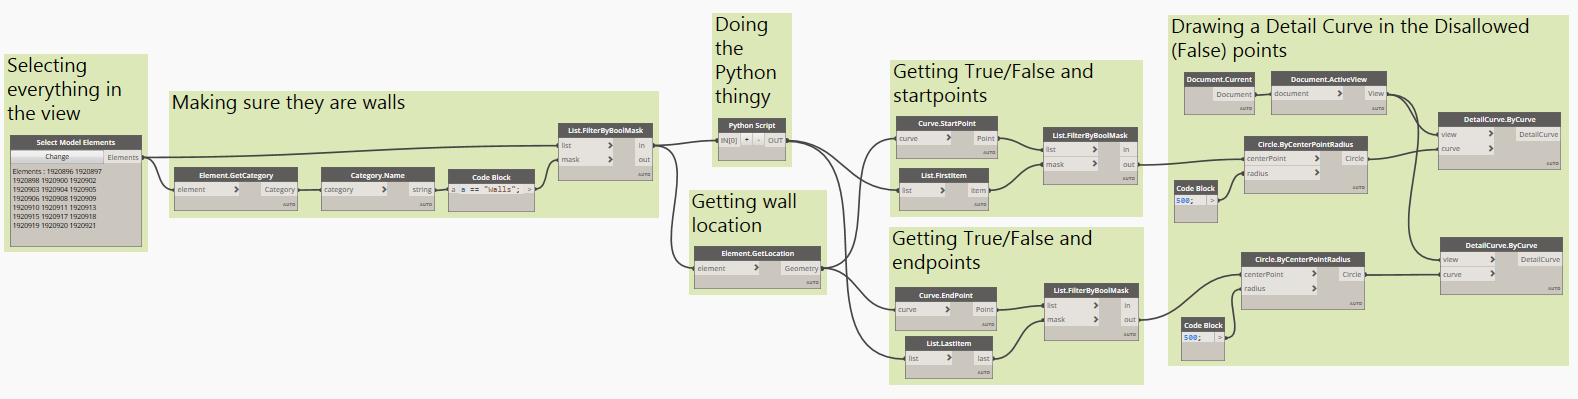
Building on this little test you will now be able to expand the code with some error checking, filtering out the True from the False and draw a circle at each end – but all that’s possible using standard Dynamo functionality.