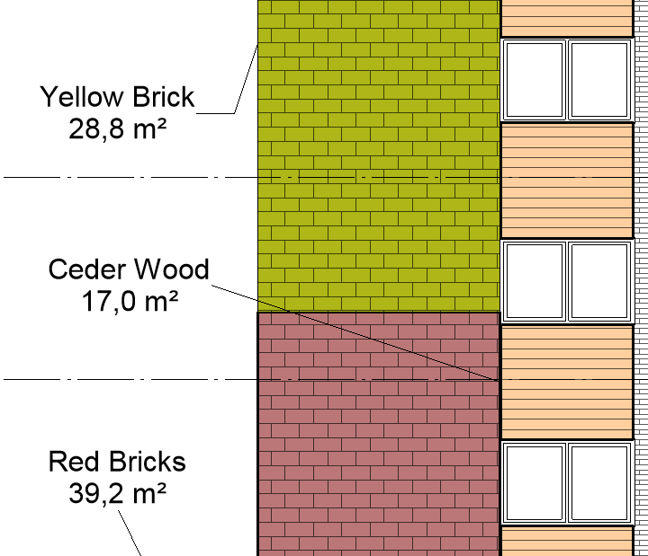
Since a few releases back we can now tag Detail Items in Revit – however all properties are not available and especially not perhaps the most sought after information; a Filled Region’s area.
But there’s a method to trick Revit into presenting the area and it’s pretty sweet, by creating a tag which is able to show Area and then trick Revit into allowing the very same on Filled Regions (and probably most Detail Items)!
Here’s how you do it
- Create a new Generic Tag family
- Change to a category which allows the tagging of Area – Floors works just fine
- Create a label showing the Type Name and Area property
- Copy the label to clipboard using CTRL-C
- Change the category of the family to Detail Items
- Now the label won’t say Area anymore – it has been replaced with some other property
- Delete the old label
- Paste the label from before and you should have a label which indeed shows Area
- Load it into your project and strangely enough actually works!
Some day Autodesk might fix this little oversight of not including the Area in the allowed list of taggable properties for Detail Items and perhaps there are some Detail Items that you really shouldn’t tag with with this tricked out tag. But who knows!
If you are curious how come this trick actually works it’s because the parameter definition for Area on both Floors and the Filled Region is the same – using Jeremy Tammik´s great Revit Lookup you can drill down into a Floor and a Filled Region and see for yourself!
Install Revit Lookup, and do Snoop Selection on first a Floor and then a Filled Region – find the Parameters, the Area parameter and then the parameter definition.
Internally they are both called internally “HOST_AREA_COMPUTED”.
So to Revit – those parameters are the same.
I have used the very same trick on some other tags as well, section tags not wanting to show View Name I think it was. But perhaps there are other use cases – explore and do let me know if you find any!


I tried this multiple times and could not get it to work. I made the generic tag exactly as instructed and loaded it in my project, but when I go to tag the region Revit defaults to another detail component tag in the project. I can’t select the new tag from the properties/components menu to change it. Tried right clicking on the tag in the project browser to create an instance and it still won’t work. Any suggestions?
Hi!
If you can’t change to the tag then it must not have been loaded correctly into your project – did you remember to change back it from Floor Tag to Detail Item Tag before you loaded it into the project?
FYI – double checked and made sure the category was set to Detail Items for the tag labels. I went in and deleted all the other detail item tags from the project. Got the new tag to load but the area shows up as a question mark. So….loaded but not working. :/
Strange – I sent you a clip via email on how I do it – perhaps you still have the old label showing something else, it should be deleted.
Change to Floors, create a label with area, ctrl-C or -X, change to Detail Items, paste.
Thorbjornh solved it! He send me a helpful video showing that you have to DELETE the first label after you copy it. Then when you paste the new one it works properly. I was copying, pasting and then deleting the other one. Hope this helps someone else 🙂
Hi,
Thanks for this, but can you send me a video or screen shots of this. Im not an advance user of revit yet. I really need to know this.
Thank you,
Hi!
Sure – I will prepare a video in a day or two 🙂
Mate. You are amazing !! It works !!
Hi Bill! Haha, oh no – not that amazing but thanks anyway! 😉
Thank you for this perfect solution – it has really helped!
Great stuff, worked first time, the vid was a great help.
Hi Scott! Happy to hear that! 🙂
Awesome, very helpful.
You’re welcome! 🙂
Great! Thank you, this really works, now how can I bring it to schedule? anyone knows?
You’re welcome!
The “easiest” way is by using Dynamo, there are examples a little bit everywhere – here’s an old discussion: https://forum.dynamobim.com/t/schedule-filled-region-areas-in-revit-with-dynamo/27342/20
Remember to change the script like mentioned at the end of the discussion.
Hello! Thanks for that amazing tip.
The next level of this is to schedule the areas; have you ever figured a way to do that too?
Thank you!
You can already schedule Filled Regions in a Revit but you can’t get the area.
It’s quite an easy Dynamo script to make, get the area and copy to another parameter which you can schedule instead.
In the script below I copy to a parameter called FA.
Great very tricky one. TQVM Sir
Just a little bit tricky, strange that Revit works that way!
This is awesome! Nice one!
Happy you liked it! 🙂
Fucking brilliant!
Haha, you’re welcome!
Very good ! Thanks you for this
Thank you Michaël, have a great day!
Work like a charm! Thank you!
Great to hear, have a nice day!
I couldn’t get this to work starting as the category “Area Tag,” but when I started the tag specifically as a “Floors Tag” category and then switched to “Detail Items Tag,” and it worked great! Thanks!!
Yes – some Areas are different from others! An Area object’s area parameter definition is actually called “ROOM_AREA” in the Revit API while both Floors and Detail Items has “HOST_AREA_COMPUTED” instead.
That’s why the parameter trick works. 🙂
Thank you so much –
Any chance to trick Revit, I will jump at the opportunity.
Dear Thorbjörn!
Just tried this feature, but all I get is a “?” when attaching the tag to a filled region – both in Revit 2020 and 2022.
I followed your video in every step, for several times, but still the tag does not show the area.
Any hint? (All other information, such as faily or type name, show up.)
Best regards, Wolfgang
Hi Wolfgang – hard to say what the issue could be, the trick does work in those versions as well. The most common reason is that you forgot to paste back the Label after you changed category.
Try to use CTRL-X on the label instead of CTRL-C before you change the category to Detail Items. Then paste it back and verify that the Parameter in the Label does say “Area”.
Hey Thorbjörn,
I love this, thanks for the post. I built a family with filled regions stacked on top of eachother turned on and off by type parameters and for some reason my tag reports not the area of one filled region, but 1/2 of the sum of all the filled regions. It tags a filled region in the project correctly, but not a filled region inside a detail family (I made a test version with just 1 filled region and the tag reports 1/2 the area). Any thoughts on what is going on? Note, that several Revit versions ago, my detail family + tag were working great.
thanks,
Emily
Hi!
Well – this is a bit of a hack so I’m not surprised it works in mysterious ways! It’s probably tagging the main family´s opinion about Area, which probably doesn’t take into account your type variations…
Great!!!